
Wednesday, October 3, 2012
Tuesday, October 2, 2012
Exterior Plus package on a 2011 VW GTI
Here we have a 2011 Volkswagen GTI that is maintained on a regular basis. It is professionally detailed 2-3 times a year. While it makes sense for any car in any condition to get this package done, I HIGHLY recommend this to a select group. This group includes vehicles that are fairly new or any vehicle that is well taken care of.
The Exterior Plus package provides a barricade against the elements of the road while also allowing the entire exterior to POP. Almost every part of the exterior is treated with wax (paint, windows, exhaust, wheels, etc.). So, let's go!
Here she is upon arrival.


I like to remove both license plates. You have no idea how much grime and dirt hides behind there.

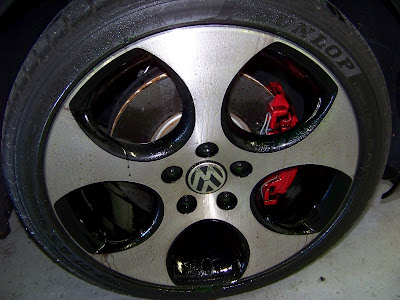
The wheels weren't too bad but the tires were looking a little brown. The brake calipers also had some built up dust.


Exhaust tips were asking for some help

SAP!


Here is the inside of the driver's door. There was some adhesive left behind from manufacturer stickers and the remaining sticker will be removed.

Enough nasty pics. Let's head into the washbay!
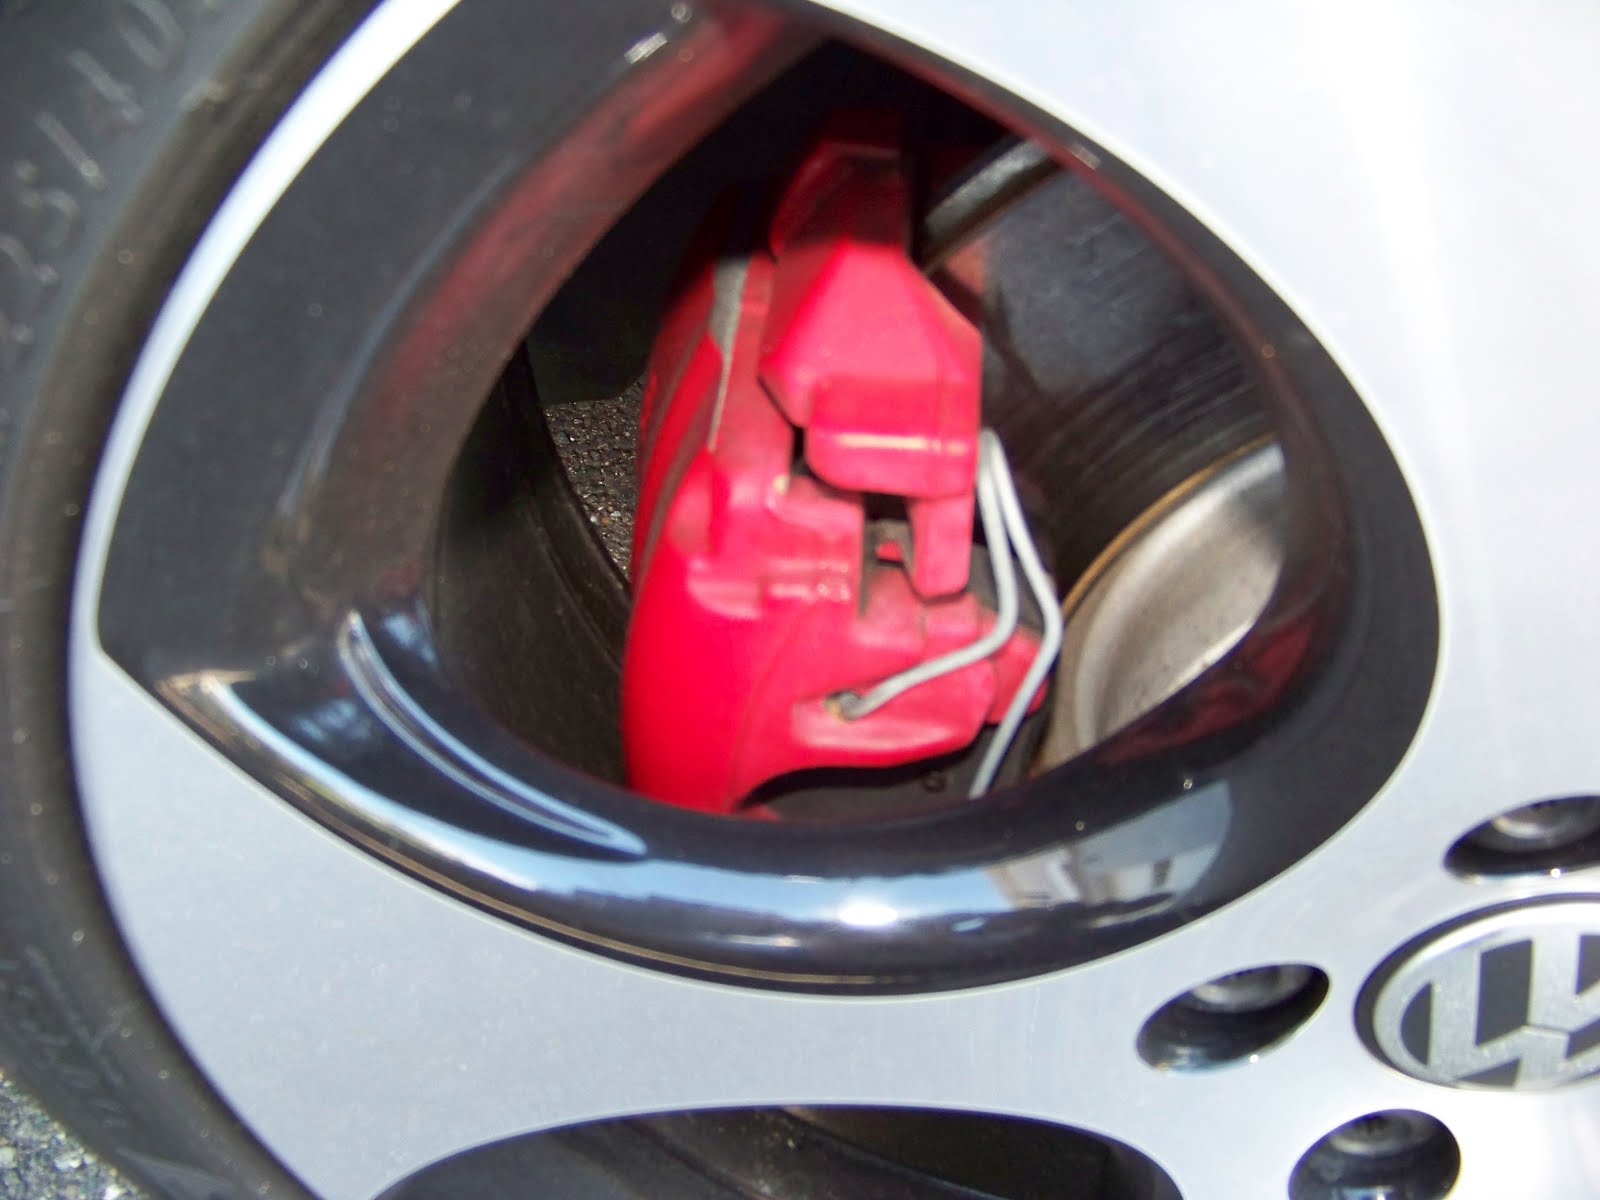
Wheels are always up first. Product goes on green then turns red when it has finished breaking up the dirt and contaminents. It also does wonders on brake calipers as you can see.
Here is one of the tires with a cleaner worked in. A lot of detailing companies will skip this step and apply tire dressing on a dirty tire. All your left with is a brown, glossy tire.

After the wheels, wheel wells, and tires were tended to, the foam gun came out and lathered up the entire exterior.

After the foam broke up the dirt, the paint was hand washed with a microfiber wash mint. The car was then moved into the "detailing bay" to be dried then clayed.

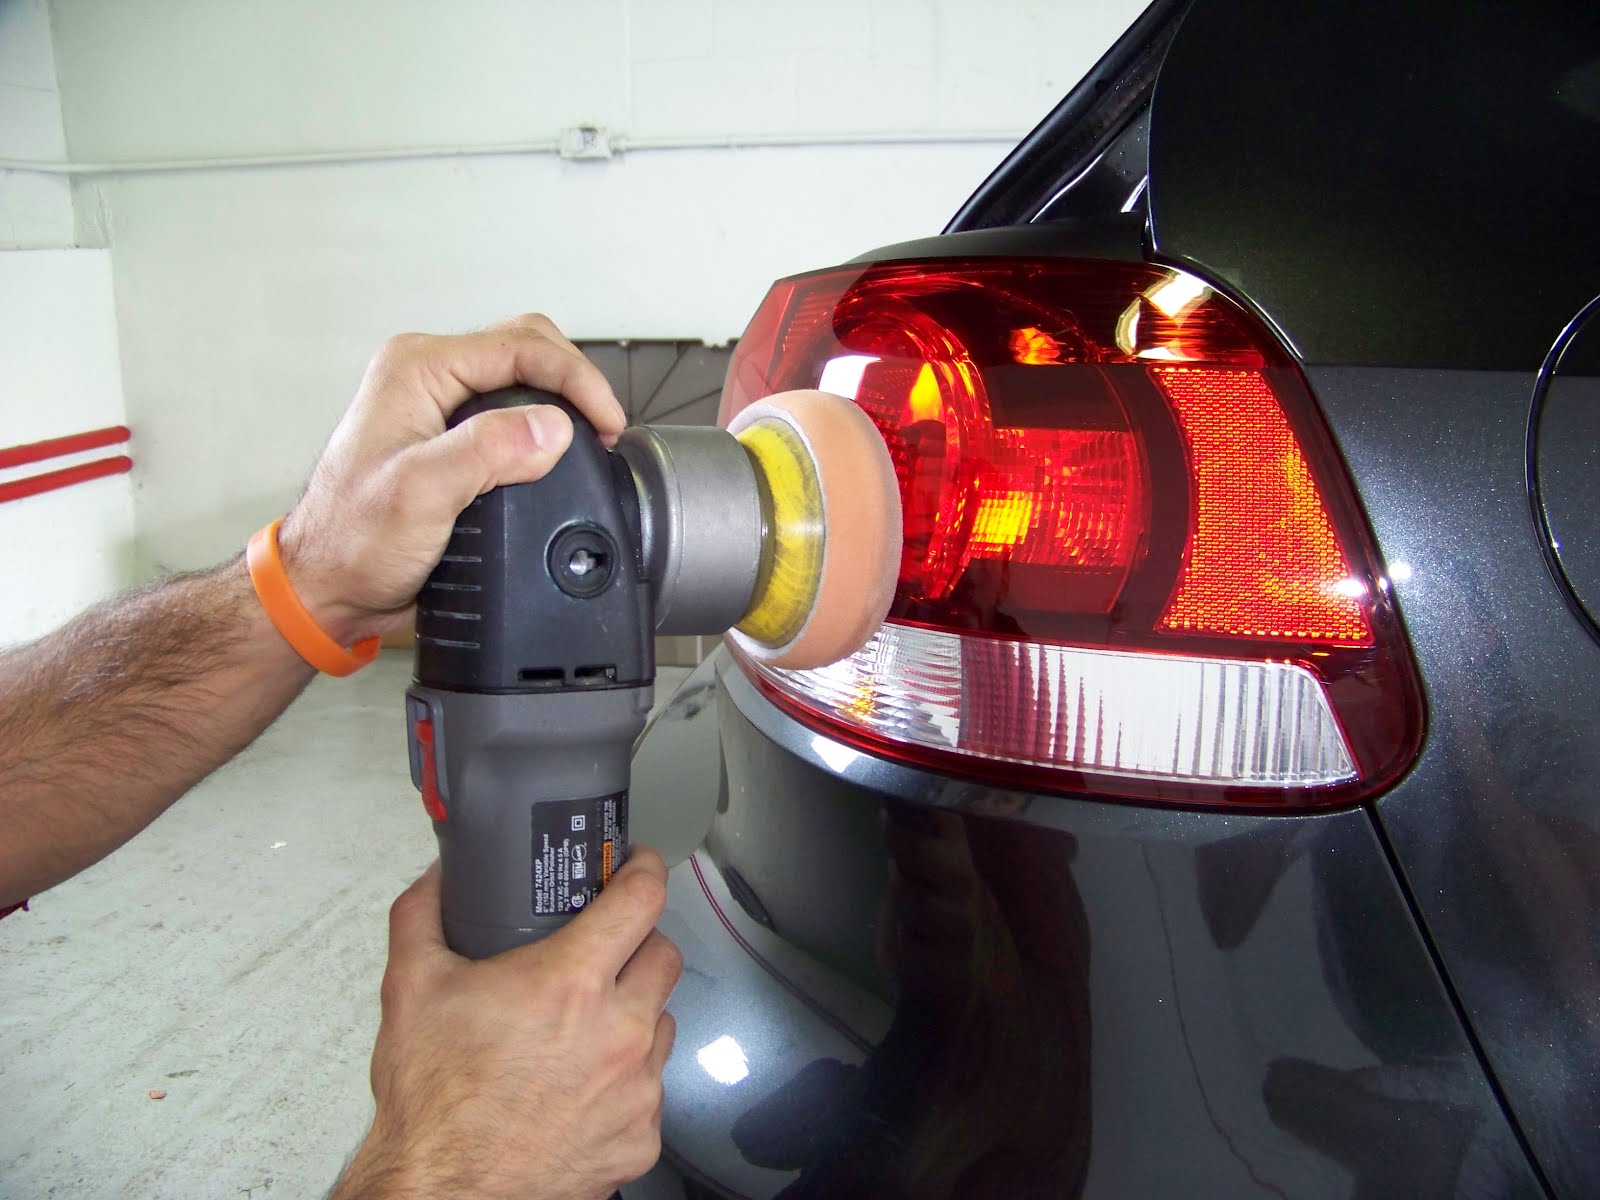
The one step polishing step was up next. I like to tackle the small spots first with a smaller pad. These areas include the whole rear, including the tail lights.


Here is a picture of the hood with the polished worked in, ready to be removed.

After the polishing is done, the exterior is washed again to remove all the polishing oils and any remaining oils from the clay lube. This allows the wax to bond to the paint without any barriers.

Like I said, almost EVERYTHING is waxed with this package. Here is a wheel with wax applied. Both the inner and outer parts of the wheels were treated.

The entire car covered in wax. I let the wax dwell for about 20-30 minutes. This allows the wax to settle in.

~~AFTER SHOTS~~
Gloss City


Wheels gleamin' with tire shine helping out

Exhaust tips cleaned and waxed

Sap removed


Stickers and adhesive removed

Book your appointment now! Thanks for looking.
The Exterior Plus package provides a barricade against the elements of the road while also allowing the entire exterior to POP. Almost every part of the exterior is treated with wax (paint, windows, exhaust, wheels, etc.). So, let's go!
Here she is upon arrival.


I like to remove both license plates. You have no idea how much grime and dirt hides behind there.

The wheels weren't too bad but the tires were looking a little brown. The brake calipers also had some built up dust.

Exhaust tips were asking for some help

SAP!


Here is the inside of the driver's door. There was some adhesive left behind from manufacturer stickers and the remaining sticker will be removed.

Enough nasty pics. Let's head into the washbay!
Wheels are always up first. Product goes on green then turns red when it has finished breaking up the dirt and contaminents. It also does wonders on brake calipers as you can see.

Here is one of the tires with a cleaner worked in. A lot of detailing companies will skip this step and apply tire dressing on a dirty tire. All your left with is a brown, glossy tire.

After the wheels, wheel wells, and tires were tended to, the foam gun came out and lathered up the entire exterior.

After the foam broke up the dirt, the paint was hand washed with a microfiber wash mint. The car was then moved into the "detailing bay" to be dried then clayed.

The one step polishing step was up next. I like to tackle the small spots first with a smaller pad. These areas include the whole rear, including the tail lights.

Here is a picture of the hood with the polished worked in, ready to be removed.

After the polishing is done, the exterior is washed again to remove all the polishing oils and any remaining oils from the clay lube. This allows the wax to bond to the paint without any barriers.

Like I said, almost EVERYTHING is waxed with this package. Here is a wheel with wax applied. Both the inner and outer parts of the wheels were treated.

The entire car covered in wax. I let the wax dwell for about 20-30 minutes. This allows the wax to settle in.

~~AFTER SHOTS~~
Gloss City


Wheels gleamin' with tire shine helping out

Exhaust tips cleaned and waxed

Sap removed


Stickers and adhesive removed

Book your appointment now! Thanks for looking.
Thursday, April 26, 2012
Full Detail on a 2006 BMX 525xi
This beautiful BMW 525xi belongs to an old friend of mine. I worked with him when I first started cleaning cars. About seven years ago! I used to clean his car back then so he decided to give me another shot. Oh, how far I have come. Let's get to it.
Here it is upon arrival. We decided on a complete interior and exterior detail minus a one step polish. As you can see, this car doesn't look too dirty. Having a light colored car such as this does a great job hiding dirt.


BMW wheels speak for themselves. They need to find another brake manufacturer!

Let's start with the wheels. I picked a new wheel cleaner for this year. This stuff is awesome. It goes on yellow then turns purple when the chemical has broken up the contaminents.


I also picked up a foamgun for this year. Having a foamgun allows you to spread soap over the entire exterior without ever touching the car. This allows the soap to break down dirt, reducing the risk of scratching your paint. It's also really fun to use too!


A lot of people are curious about the new Iron Cut step. This stuff is unbelievable. It goes on clear then turns purple when the contaminents are broken down. I use it on the entire exterior. It's hard to see but there are plenty of little purple spots in the following pictures.


The iron cut was removed and the car was dried. It was on to the claying process. I can't stress enough how important it is to get your exterior clayed, atleast once a year. There are so many little contaminents in your paint that are not removed during the wash process. Take this car for example. It looked pretty clean upon its arrival right?
This picture shows pieces of clay filled with dirt and tar. I even had to use two pieces! The paint now has a smooth finish. This will now allow the wax and sealant to bond to the paint better, giving it longer protection and a better shine.

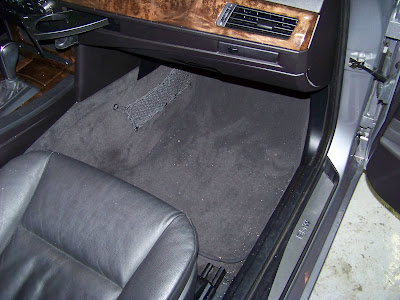
On to the interior. It wasn't too bad but we got a smoker!


I like to treat the leather first. I let it sit for a while, allowing it to seep in. Here it is ready to be rubbed in on the front seat.

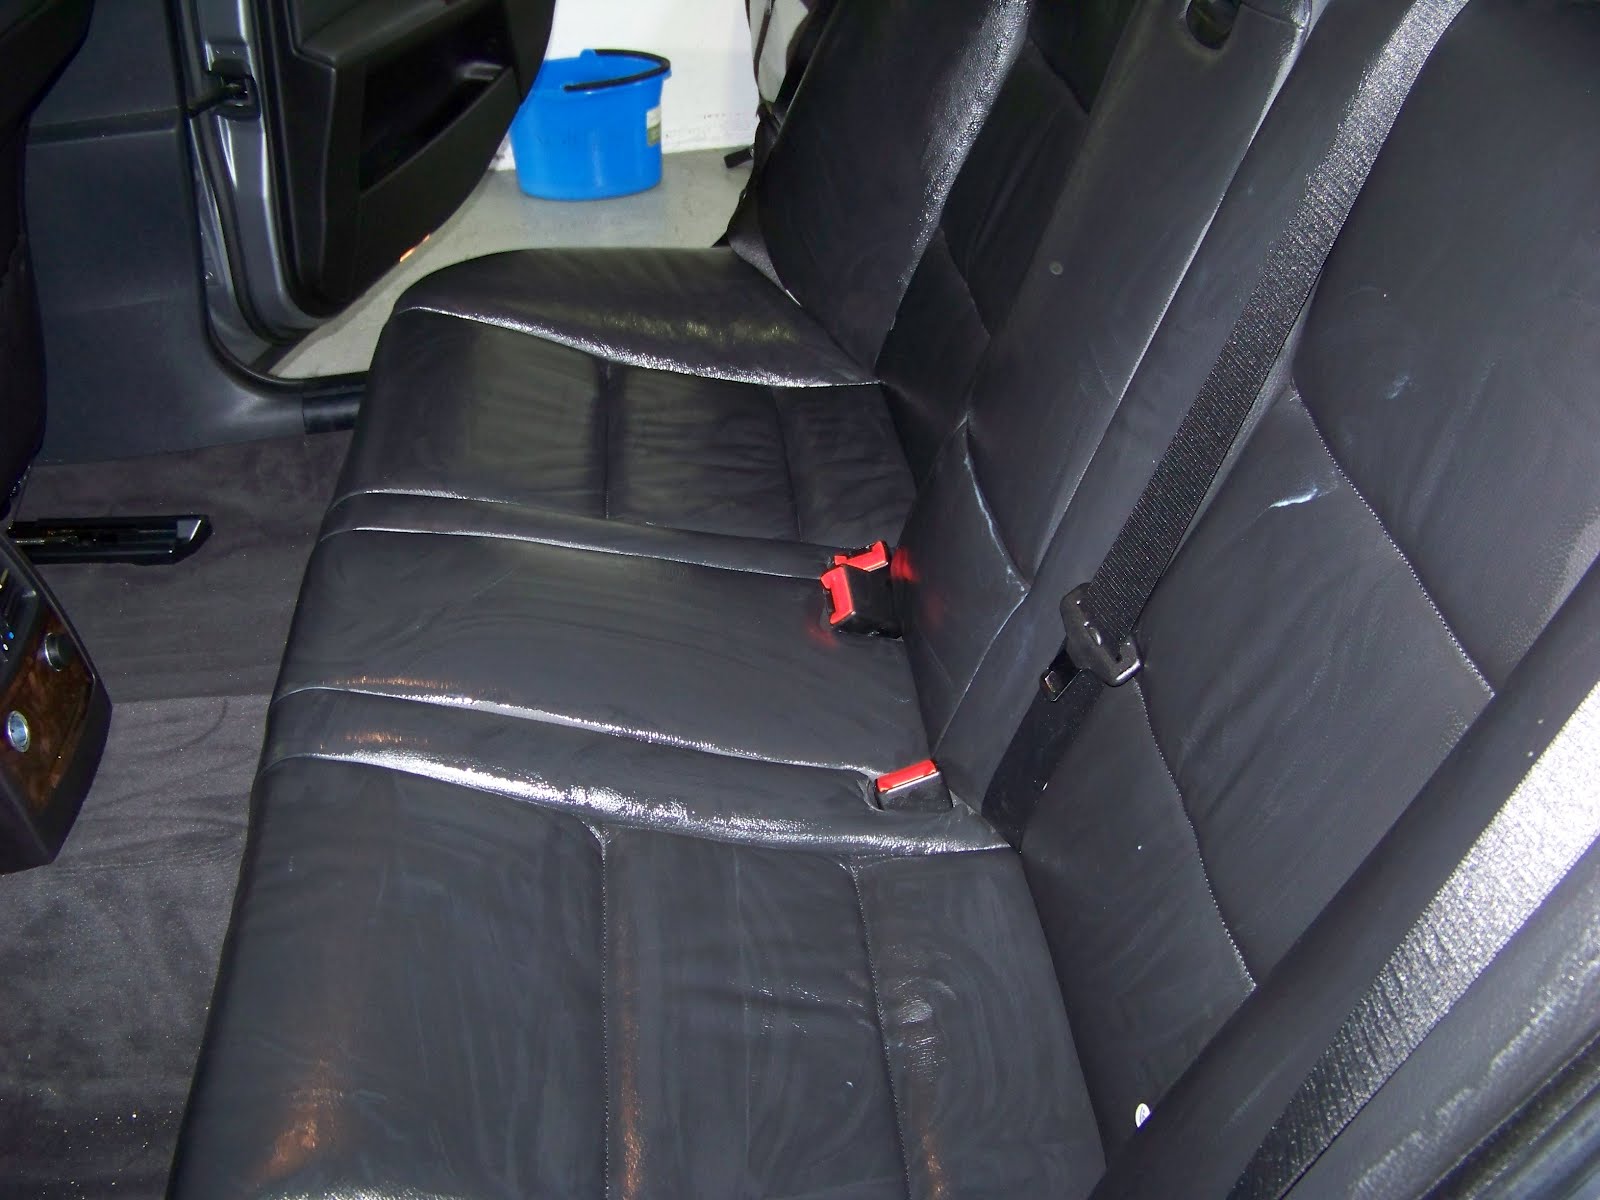
And here it is completely worked in on the backseat.

After the interior is done, it's back to the exterior. Here is a portion of the car after the wax has been worked in by machine.

--AFTER SHOTS--
The entire exterior was waxed and sealed. The tires and wheel wells were dressed.


The interior was dressed with a glossy finish. All carpets were shampooed. Glass was cleaned inside and out.


Thanks for looking!
Here it is upon arrival. We decided on a complete interior and exterior detail minus a one step polish. As you can see, this car doesn't look too dirty. Having a light colored car such as this does a great job hiding dirt.


BMW wheels speak for themselves. They need to find another brake manufacturer!

Let's start with the wheels. I picked a new wheel cleaner for this year. This stuff is awesome. It goes on yellow then turns purple when the chemical has broken up the contaminents.


I also picked up a foamgun for this year. Having a foamgun allows you to spread soap over the entire exterior without ever touching the car. This allows the soap to break down dirt, reducing the risk of scratching your paint. It's also really fun to use too!


A lot of people are curious about the new Iron Cut step. This stuff is unbelievable. It goes on clear then turns purple when the contaminents are broken down. I use it on the entire exterior. It's hard to see but there are plenty of little purple spots in the following pictures.


The iron cut was removed and the car was dried. It was on to the claying process. I can't stress enough how important it is to get your exterior clayed, atleast once a year. There are so many little contaminents in your paint that are not removed during the wash process. Take this car for example. It looked pretty clean upon its arrival right?
This picture shows pieces of clay filled with dirt and tar. I even had to use two pieces! The paint now has a smooth finish. This will now allow the wax and sealant to bond to the paint better, giving it longer protection and a better shine.

On to the interior. It wasn't too bad but we got a smoker!


I like to treat the leather first. I let it sit for a while, allowing it to seep in. Here it is ready to be rubbed in on the front seat.

And here it is completely worked in on the backseat.
After the interior is done, it's back to the exterior. Here is a portion of the car after the wax has been worked in by machine.

--AFTER SHOTS--
The entire exterior was waxed and sealed. The tires and wheel wells were dressed.


The interior was dressed with a glossy finish. All carpets were shampooed. Glass was cleaned inside and out.


Thanks for looking!
Subscribe to:
Posts (Atom)
