Here it is upon arrival. We decided on a complete interior and exterior detail minus a one step polish. As you can see, this car doesn't look too dirty. Having a light colored car such as this does a great job hiding dirt.


BMW wheels speak for themselves. They need to find another brake manufacturer!

Let's start with the wheels. I picked a new wheel cleaner for this year. This stuff is awesome. It goes on yellow then turns purple when the chemical has broken up the contaminents.


I also picked up a foamgun for this year. Having a foamgun allows you to spread soap over the entire exterior without ever touching the car. This allows the soap to break down dirt, reducing the risk of scratching your paint. It's also really fun to use too!


A lot of people are curious about the new Iron Cut step. This stuff is unbelievable. It goes on clear then turns purple when the contaminents are broken down. I use it on the entire exterior. It's hard to see but there are plenty of little purple spots in the following pictures.


The iron cut was removed and the car was dried. It was on to the claying process. I can't stress enough how important it is to get your exterior clayed, atleast once a year. There are so many little contaminents in your paint that are not removed during the wash process. Take this car for example. It looked pretty clean upon its arrival right?
This picture shows pieces of clay filled with dirt and tar. I even had to use two pieces! The paint now has a smooth finish. This will now allow the wax and sealant to bond to the paint better, giving it longer protection and a better shine.

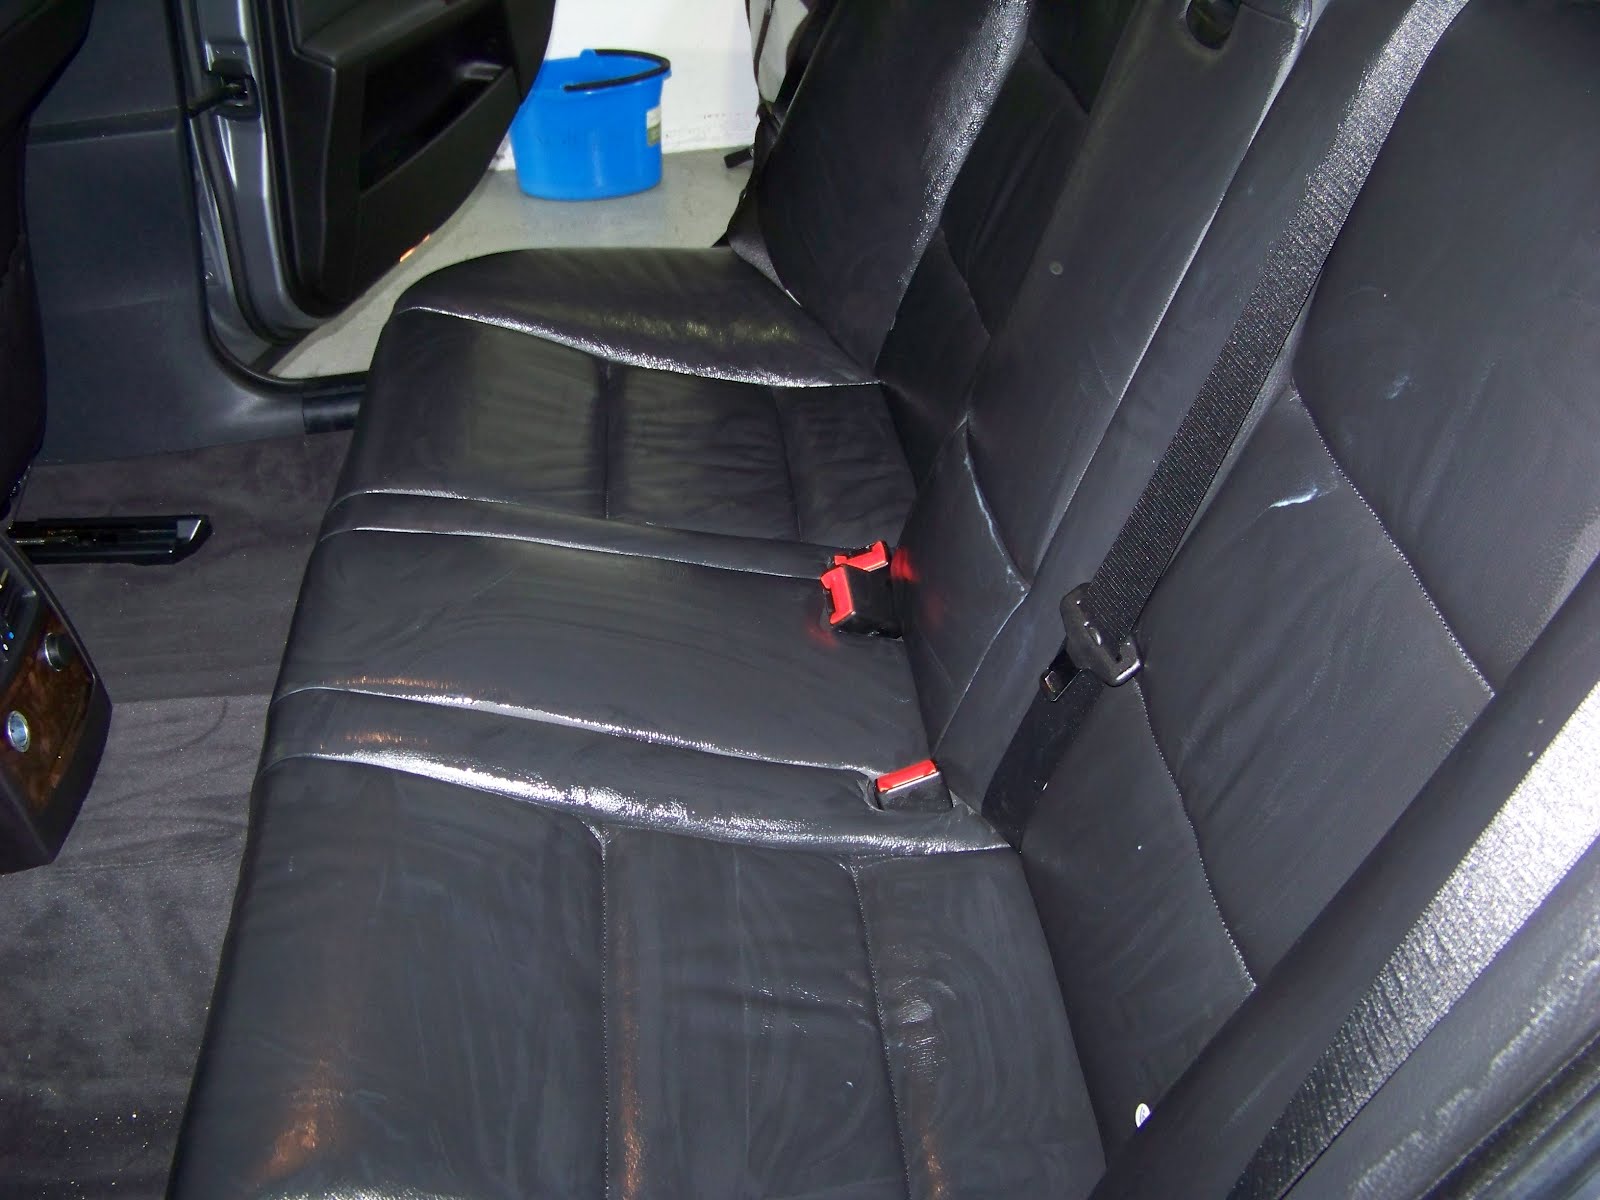
On to the interior. It wasn't too bad but we got a smoker!


I like to treat the leather first. I let it sit for a while, allowing it to seep in. Here it is ready to be rubbed in on the front seat.

And here it is completely worked in on the backseat.
After the interior is done, it's back to the exterior. Here is a portion of the car after the wax has been worked in by machine.

--AFTER SHOTS--
The entire exterior was waxed and sealed. The tires and wheel wells were dressed.


The interior was dressed with a glossy finish. All carpets were shampooed. Glass was cleaned inside and out.


Thanks for looking!


